Creating Text Object
Entering Text
This section explains how to enter text.
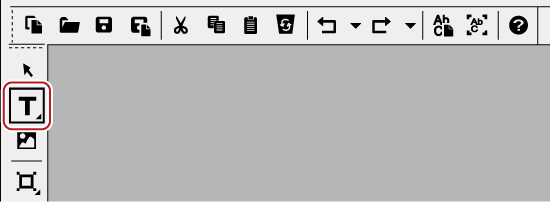
1) Click [Horizontal Text] on the object tool bar.
-
If you click and hold down [Horizontal Text], you can select [Vertical Text].
2) Click on the object creating screen.
-
The text cursor appears on the object creating screen.
3) Enter text using the keyboard.
-
You can also display a text input bar to edit text.
 Alternative
-
Click [Insert] on the Quick Titler menu bar, and click [Text] → [Horizontal] or [Vertical].
-
Right-click with nothing selected, and click [Insert] → [Text] → [Horizontal] or [Vertical].
-
Right-click a text box and click [Edit text].

-
You can input text by importing text files.
Formatting Settings
You can change the text format such as the font or text size.
Settings such as font or text decoration can be changed under [Font] on the text properties bar. Text format settings can be applied at the character or level or at the line level.
1) Select the text string or text box to be formatted.
-
Kerning, Font, Default size, Bold, Italic and Underline can be applied at the character level. To apply to specific characters, drag along the desired character string to select it. When no specific character string is selected, format settings can be applied to an entire selected text box. You can change leading at the line level. To apply leading to a specific line, place the cursor in the desired line. To set leading for an entire text, select the text box.
2) Set the text format using text properties.
|
[X], [Y] |
Specify the position of a text box. |
|
[Width]/[Height] |
Specify the size of a text box. The character size will also be increased/decreased to fit in a text box. Check [Fix aspect ratio] to fix the aspect ratio. |
|
[Kerning] |
Enter a value. Set a value in the range of - 300% to 300%. |
|
[Leading] |
Enter a value. Considering that a leading value of “0” is 100%, set a value in the range of - 300% to 300%. |
|
[Font] |
Select the font. |
|
[Size] |
Select the character size. |
|
[Horizontal], [Vertical] |
Select between horizontal or vertical. |
|
[Bold]/[Italic]/[Underline] |
Click a button to apply a Bold, Italic or Underline effect to text strings. |
|
[Left Tab]/[Center]/[Right Tab] |
Specify the alignment of a text string. For vertical text, [Top], [Center] or [Bottom] can be selected. |
Creating Images
You can select and place your desired image from those provided on the title object style bar.
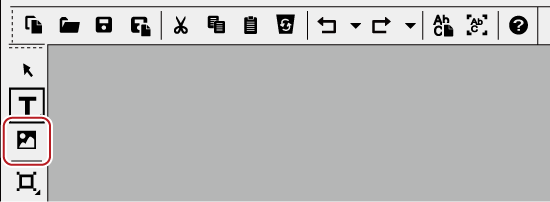
1) Click [Image] on the object tool bar.
-
Style chips are displayed on the title object style bar.
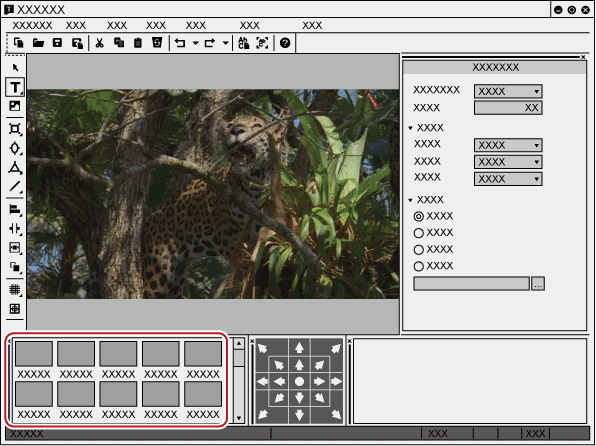
2) Click the style chip you want to create.
3) Click or drag the object creating screen.
-
An image will be placed in the selected style.
-
Drag the image to the desired size.
Alternative
-
Click [Insert] on the Quick Titler menu bar, and click [Image].
-
Right-click with nothing selected, and click [Insert] → [Image].
-
To place any still image, after step 3) , click [...] of the [File] tree on the image properties bar and select a file.
Creating Graphics
You can create your desired graphics.
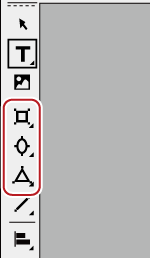
1) Click [Rectangle], [Ellipse] or [IsoscelesTriangle] on the object tool bar.
-
Clicking and holding a button of a shape will let you select a rounded rectangle, circle or right-angled triangle.
2) Click or drag the object creating screen.
-
The shape will be placed.
-
Drag the shape to the size you want the shape to be.
Alternative
-
Click [Insert] on the Quick Titler menu bar, and click the type of shape to be created.
-
Right-click with nothing selected, and click [Insert] → shape type.
3) Set the style.
-
Use the object properties bar to set the style such as color or border.
-
In the title object style bar, double-click the style chip you want to apply.
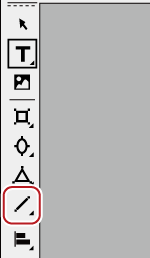
Creating Lines
You can create straight or polygonal lines.
1) Click [Line] on the object tool bar.
-
If you click and hold down [Line], you can select [Continuous line].
2) Click or drag the object creating screen.
-
The line will be placed.
-
Drag on the screen to the length you want the line to be.
-
If [Continuous line] was selected, click the start point → click the corner points → double-click the final point on the line.
Alternative
-
Click [Insert] on the Quick Titler menu bar, and click [Line] → [Line] or [Continuous line].
3) Set the style.
-
Click the [Style] tree on the object properties bar, and then select a line type and shape of start/end point from the list.
-
You can also select other settings like color or border.
-
In the title object style bar, double-click the style chip you want to apply.
Importing External Files
You can import text files or image files by dropping them on the object creating screen.
-
The following file formats can be imported.
-
Text file: TXT
-
Image file: BMP, GIF, JPEG, PNG, TIFF, TARGA, PSD, EMF
-
1) Drag and drop the file you want to import from your desktop or a folder onto the object creating screen.
-
For image files, clicking [Original size] under [Transform] on the image properties bar resizes the image to its original size.
Alternative
-
For images, create an image, and then select the image files by clicking [...] of the [File] tree on the properties bar.
-
For text, put the cursor in a text box, click [Insert] on the Quick Titler menu bar, and then click [Text] → [File]. Select a text file in the [Open] dialog box.