Timeline Display
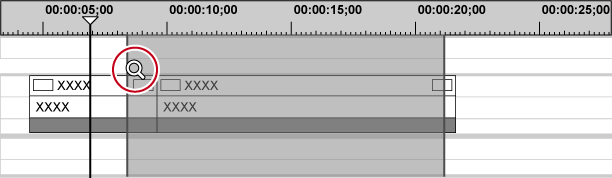
Marking the Time Scale
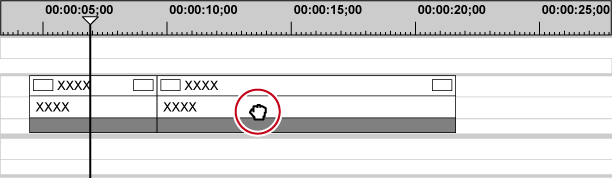
You can mark the time scale with the In and Out points for setting the range to apply operations in and sequence markers to serve as the reference for moving tracks, etc.
|
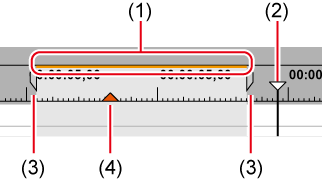
(1) |
Rendering options |
Display the required level of rendering for playing back the timeline in color by level. |
|
(2) |
Timeline cursor |
Move the timeline cursor by dragging to the left or right. |
|
(3) |
In/Out points |
Indicate the In and Out points of the timeline. The range to apply operations in can be restricted between In and Out points. |
|
(4) |
Sequence marker |
This is the mark to set on the timeline. An orange sequence marker becomes a chapter when exporting to DVD, etc. If you place the mouse cursor on the sequence marker, the timecode or comment on the sequence marker position is displayed (if it is set). |
Time Scale Settings
You can change the display unit for the time scale. The time scale can be displayed in the following units:
-
Frames, seconds, minutes
-
Fit (The display unit is automatically adjusted to fit the display range of the timeline window.)
|
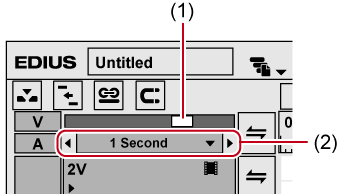
(1) |
Time scale slider |
|
|
(2) |
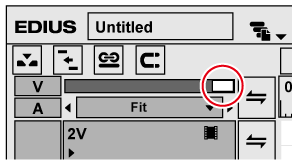
Time Scale Settings |
|
1) Click the list button at the time scale settings, and click the display unit.
-
Click [Fit] to adjust the time scale to display all clips on the timeline. Click [Undo] to return to the previously set display unit.
 Alternative
-
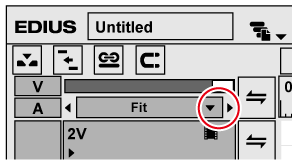
Click the center of the time scale setting to switch the currently set display unit to [Fit].
-
Drag the time scale slider. Move the slider to the left to reduce the display unit, or to the right to increase it. The right end is [Fit].
-
Click
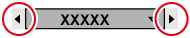 . Click the left end to set a smaller display unit, or click the right end to set a larger display unit.

-
If a clip is on the timeline, you can fine-adjust the time scale settings in the range from [1 Frame] to [Fit] by dragging the time scale slider. The scale is indicated as “----” during fine-adjustment.
Moving the Display Range
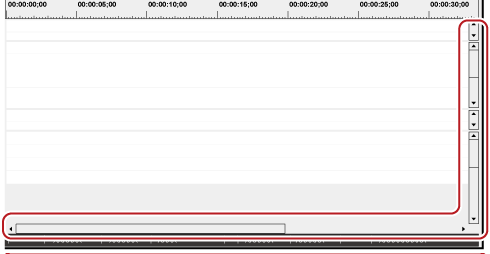
You can move the range currently displayed on the timeline window.
1) Right-drag with [Alt] on the keyboard held down.
 Alternative
-
Move the slider at the bottom of the timeline window or the slider at the right of the track.
Fitting to a Desired Range
You can specify a desired view range on the timeline and fit to this range.
1) Right-drag to enclose the range to fit to with [Shift] on the keyboard held down.